HAPPY
FLANNEL
FRIDAY!


Isn't he cool?!??!!
FLANNEL
FRIDAY!
We had our all day Summer Reading Workshop today ~ so I'm a little late.
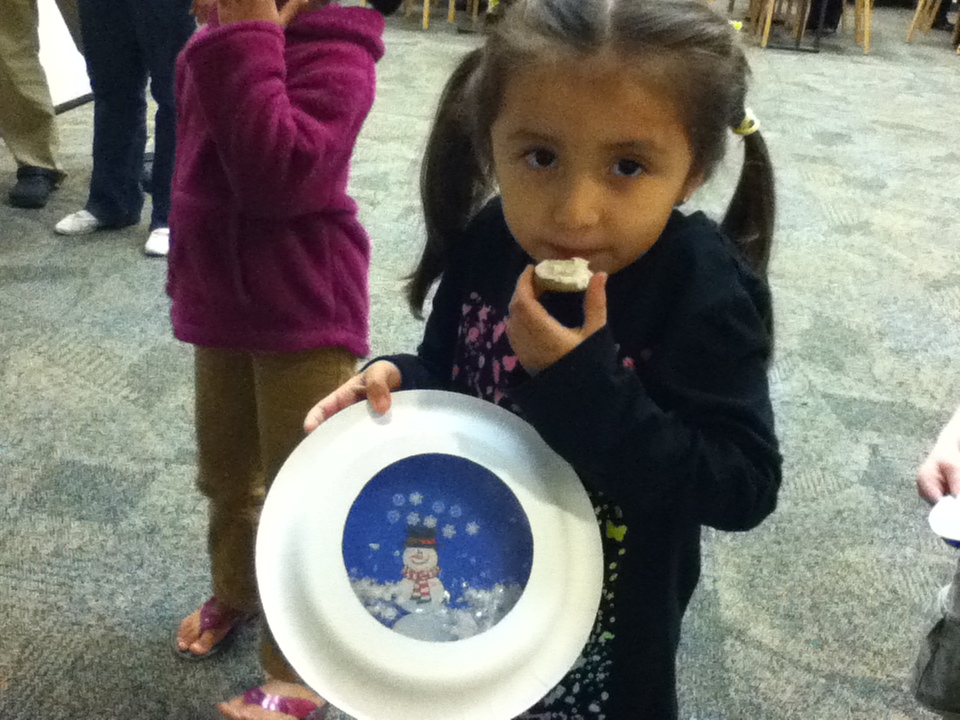
My "Melting" Snowman
 |
| I know! I know! He looks just like an ordinary little guy. But he is NOT! |
He is actually a ton of fun to play with and simple enough to make with a large group of families.
I can confidently say that because this is our Storytime Craft for last night's Family Storytime.
We made our "melting" snowmen to go along with several of our snowman songs and fingerplays ~ like this traditional one:
I'm a Little Snowman
(Sung to: "I'm a Little Teapot")
I'm a little snowman
Short and fat.
Here is my tie
And here is my hat.

When the sun comes out,
I'll melt away.

But I'll be back.
Another day!
For the little ones ~ and even the adults ~ it is like magic!
He rolls down and up with ease due to some well-placed brads.
He rolls down and up with ease due to some well-placed brads.
I heard a whole wave of ooooh's and aaaah's as I did it the first time. Then we had to do it over and over and over again to satisfy everyone's curiosity. :o)
When I announced that everyone would be creating his/her own to take home, the room erupted into screams of "YAY!" and there was lots of jumping up and down with excitement. It made my heart smile to see them so excited!
When I announced that everyone would be creating his/her own to take home, the room erupted into screams of "YAY!" and there was lots of jumping up and down with excitement. It made my heart smile to see them so excited!
If you would like directions for making this cool craft, please contact me at storytimeabcs@gmail.com or check out below who and what inspired me to make my "melting" snowman. It was a post about "telescoping" cards ~ using circles ~ that I came across recently. The post I read was not about making a snowman but it does have a video tutorial that shows the steps to make a "telescoping" card. Barb's video was all I needed to get excited about "telescoping" crafts. It didn't take much for me to tweak her circle card into a snowman! And I have several more ideas for "telescoping"!
***Special Note: There have been some discussions on-line and in my personal life recently about giving credit to others for their ideas. As far as I am aware, none of the discussions involve the Flannel Friday group but I feel that the topic of the discussions does apply. One of the first things that impressed me about this group is how often credit is given back to other participants. I think we, as a whole, do a very good job of that. Kudos to us!
I totally agree with the concept of giving credit for ideas and even for giving credit for that mystical little thing called inspiration. It is a positive concept! And well worth the effort to do!
But! I also know that many people have the same idea around the same time without ever seeing the other person's idea or knowing that the other person is thinking about doing the same thing. That has happened to me several times over just the past year. I have read a Flannel Friday post that is EXACTLY like one that I have been working on for weeks! Neither of us knew what the other one was doing.
I love that "great minds think alike" and that we have so many "great minds" in our Flannel Friday group!
Another "But!" here:
But it can be a little frustrating when someone else beats you to the punch. When this happens to me, I try (and hope that I am successful) to have a positive attitude about it. I often write a "what a wonderful idea! note to the other person and try to be happy that other children and other families will benefit from the idea ~ whether or not I was the first person to get that idea out there. I try to make the importance of the idea be about the children, not the origin of the idea.
I also know that there are times when someone sees an idea, likes it, but can't use it at the time. Then weeks, months, even years, later that idea comes to them at a time when they can use it. They may remember that they saw it somewhere ~ or not! I know my mind isn't as good at remembering these things as it used to be!
Anyway, they may remember that they did see it somewhere but not know where to give the credit. I personally don't fault someone for this. I want to believe that most people, given the opportunity, like to give others credit for their work. So I try really hard to give the benefit of the doubt and trust in Karma. If the person meant well ~ good! If the person had questionable intent then "Uh Oh!" for them.
Anyway, they may remember that they did see it somewhere but not know where to give the credit. I personally don't fault someone for this. I want to believe that most people, given the opportunity, like to give others credit for their work. So I try really hard to give the benefit of the doubt and trust in Karma. If the person meant well ~ good! If the person had questionable intent then "Uh Oh!" for them.
I am not naive or inexperienced though! I work with someone right now who takes others' ideas and doesn't give credit where credit is due. What do you do about that? I have learned several ways to handle it but that is for another time. Email me if you need suggestions right now though. ;o) I might be able to help by sharing from my vast experiences and frustrations! LOL!
Okay, I didn't mean for that to get so long! Sorry! I just want to be clear that I am giving credit for my inspiration. There may be posts out there that are actual "telescoping snowmen" ~ I couldn't tell you ~ because this particular idea came to me when I saw Barb's tutorial and decided to tweak her circle card into a snowman. :o)
If anyone has a "telescoping snowman" or any kind of "telescoping" craft, I would love to hear about them and share a link to them! I might just start a Telescoping Blog Hop! Whoo hoo! You know how I love a good Blog Hop!
If anyone has a "telescoping snowman" or any kind of "telescoping" craft, I would love to hear about them and share a link to them! I might just start a Telescoping Blog Hop! Whoo hoo! You know how I love a good Blog Hop!
One last thing before I go, I just want to mention that my features on this particular snowman were done to go along with my very first storytime post from last year, It Is Snowing All Around!
I used the snowman from the "Snowflake, Snowflake, What Do You See?" magnetic board set but I tweaked it this year. (See, I am even known to tweak my own ideas! Tweak! Tweak! Tweak! I see a new blog coming to life!)
I gave my melting snowman a green bowtie instead of a purple scarf so that I could use him for a different snowman fingerplay that includes bowties. (Watch for this in an upcoming post. It is fun, too!)
I hope you enjoyed this Flannel Friday contribution! And didn't mind too much that I shared a few of my thoughts about giving credit. They are just my opinion and as people often say, "It's a funny thing about opinions ~ everyone has one!"
Please feel free to share your opinion below ~ if you are inclined to do so. It can be about this craft, something fun that you do with a winter/snowman theme, or even your own opinion on giving credit ~ whether you agree or disagree with mine.
I love sharing ideas and hearing what others think, too!
As I tell my boys: "If I want to be heard then I need to be willing to listen!"
Thanks for stopping by and, as always,
HAPPY READING TOGETHER!